by kelsey | May 23, 2013 | Cooking Tips, Diet, Food, Holidays, Weight Management, Wellness/Health

With Memorial Day and the holiday weekend only a day away, many are prepping their grocery list or menu for the fun filled weekend. You’ll fire up the grill, enjoy some burgers or steaks, a few tasty drinks, and friends and fellowship. I love to grill and foods on the grill are my favorite…and I know beef will be what’s for dinner in my household as nothing beats a tasty “Raml” hamburger or steak. Besides the protein, I am sure there will be plenty of fruits and veggies to enjoy of which both can be grilled as well! You can make kabobs or put them in a pan with some olive oil and grill.
I am excited to be selected as part of South Dakota Team BEEF again this year and as a Registered Dietitian and wife of a rancher, I have become very passionate about sharing the benefits of lean beef. So in celebration of the holiday weekend and National Beef Month, I thought it would be a fitting topic to discuss beef in a bit more details.
Did you know that beef is 20% leaner than it was about 15 years ago? There are at least 29 cuts of lean beef which means they meet the government guidelines for lean, meaning each cut has less than 10g of total fat, less than 4.5 g of saturated fat, and less than 95mg of cholesterol (in a 3 oz serving). Here are some tips for you to make beef a part of your heart healthy meals:
- Look for key words such as “round” or “loin” …these are typically leaner cuts
- Choose 90% or greater lean beef. This means in a 3oz serving there is less than 5g of fat in it.
- Use healthy cooking methods such as grilling, broiling, baking, roasting, or braising. The less tender cuts can be marinated in a tenderizing marinade such as salsa or light Italian dressing.
- Trim the fat! Trimming the fat before cooking will help eliminate some of the fat from the cut.
- Cook with fresh ingredients such as lemon juice, peppers, onions, garlic, and herbs instead of adding extra fat to the cut.
- Practice portion control. Select the 3-5 oz serving over the 10oz.
Balance is key to a healthy diet, so be sure to include your fruits and veggies and whole grains along with your lean meat to create a healthy plate. All meat is required to have the nutrition content (label) posted by it in the grocery store. Be sure to use this when you’re selecting your cuts of meat and pay special attention to the total fat and saturated fat content. If you want to learn more about the benefits of beef and explore healthy recipes check out these websites: www.beefnutrition.org and www.beefitswhatsfordinner.com.
Have a great weekend!
Kelsey
by kelsey | May 22, 2013 | Cooking Tips, Diabetes, Diet, Food, Weight Management

As I’ve said before, one of my favorite parts of STRIVE 2 Survive is enjoying the various selections County Fair Foods provides for us. Last night, we had an excellent strawberry trifle and it was so good I thought I’d share the recipe with you!
Ingredients:
1 container of cool whip (use light, fat free, or sugar free)
1 sugar free angel food cake (baked)
1 sugar free strawberry jello (mixed)
1 sugar free vanilla instant pudding (mixed)
1 container of sweetened strawberries (thawed)
Steps:
Tear angel food cake into pan.
Pour jello over angel food
Pour sweetened strawberries.
Pour Pudding
Top with cool whip.
As you can see, we all really enjoyed it as the pan is almost gone!

This is great for a summer picnic and to give your sweet tooth a fix without all of the extra calories!
-Kelsey
by kelsey | May 14, 2013 | Food

Before I started dating (and then married) a farmer/rancher, I didn’t put too much thought into where my food came from. I went to the store, selected what I wanted, and ate it…that was it. My dad’s parents did some farming and I have friends who were farmers but I never really knew how much went into putting that food on my table until about 5 years ago.
It seems like my household has been running at 100mph for the last few months and when I think about why, it’s all for YOU! Our ranchers work very hard to ensure their calving process goes well and with those spring storms we had, it sure made for a tough calving season. Calving typically involves checking on the cows every few hours to ensure things are going well. If they aren’t, then they have to take proper action that the calf and cow are safe and thriving. And since the snow just melted 2 weeks, ago, the farmers have finally been able to get into the fields to plant the crops. The calving produces cows that the consumers purchase as selections of beef, an excellent source of protein…and the farming produces crops such as wheat, soybeans, and corn of which are all used in a variety of food products and essential to our nutrition and health.
The picture above is from my view riding with Adam in the tractor while he was planting corn….if I want to see him right now, this is about the only way as he and all of the other farmers are working day and night to get the crop in…in efforts to put food on your table. So next time you go to the grocery store or you see a tractor in the field, think about this process: the seed is purchased by the farmer, planted by the farmer, we pray for good weather to help it grow, the farmer harvests the crop, sells the crop to the elevator, which then is sold and transported to food producing companies, products are created, you purchase the product at your store, you eat it. All of that effort starts with your farmer….pretty amazing huh! As I said earlier, I have learned more about farming and ranching than I never imagined, but I wouldn’t change it for the world. Since I have a nutrition/food science knowledge, learning more about the agricultural part of food production has been fascinating and it makes me appreciate the food I eat a lot more when I think about where it came from and how much effort and time was put into the production of it….I hope you do too!
-Kelsey
by kelsey | May 7, 2013 | Cooking Tips, Food, Weight Management, Wellness/Health
This week I have a dietetic student from South Dakota State University with me doing part of her practicum experience. Amanda Lambrechts is a senior dietetic student and originally from Milbank. She has her own personal blog so when I asked her if she wanted to contribute this week’s posts she was happy to do so, as she’s a natural at it! -Kelsey
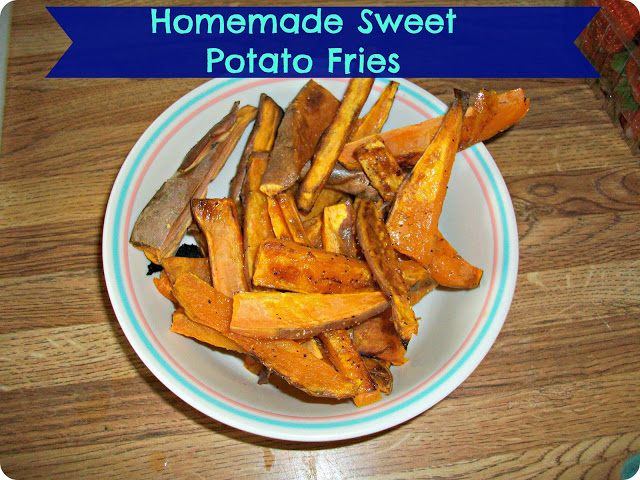
Amanda’s Sweet Potato Fries
I tried sweet potato fries for the first time my sophomore year of college at a place on campus at SDSU. I liked them, but they didn’t seem much healthier than any other fries. They were still covered with salt and grease. I hadn’t thought much about them again, until earlier this Spring. A dietetics friend of mine was telling me that sweet potatoes are a staple food of hers. Feeling in a food rut after a long semester, I decided to dig my way out by trying some different recipes. I must say, after you make these homemade sweet potato fries, you will never go back to greasy fast food fries again.
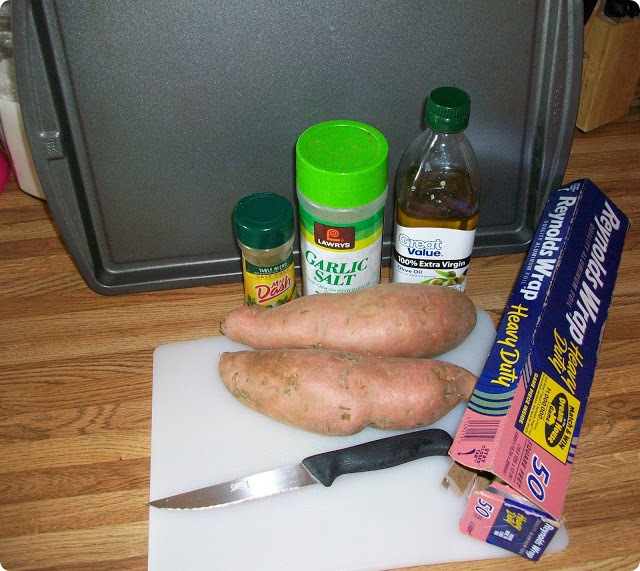
1.) You will need: Extra Virgin Olive Oil, Mrs. Dash, Garlic Salt, Sweet Potatoes, a baking sheet, aluminum foil, a sharp knife, and a cutting board.
2.) Before preparing the fries, preheat the oven to 400 degrees F and line the
baking sheet with foil.
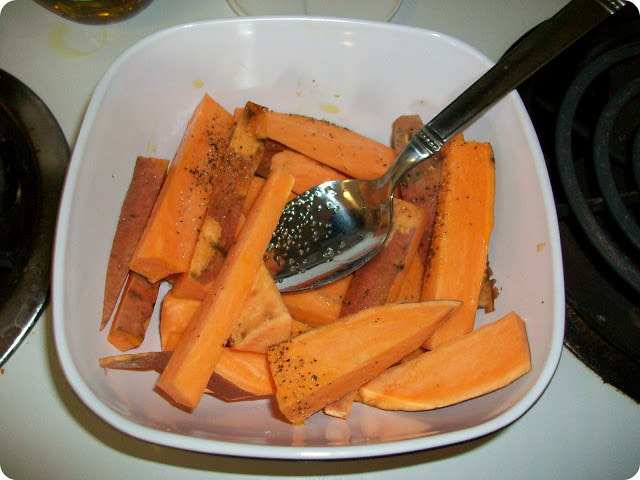
3.) After washing and scrubbing the sweet potatoes thoroughly, cut them into wedges.
4.) Sparingly, drizzle olive oil and sprinkle some Mrs. Dash and Garlic Salt over the wedges. Toss the wedges a few times so the seasoning and oil is distributed.
5.) Line the baking sheet with the wedges and place them in the heated oven.
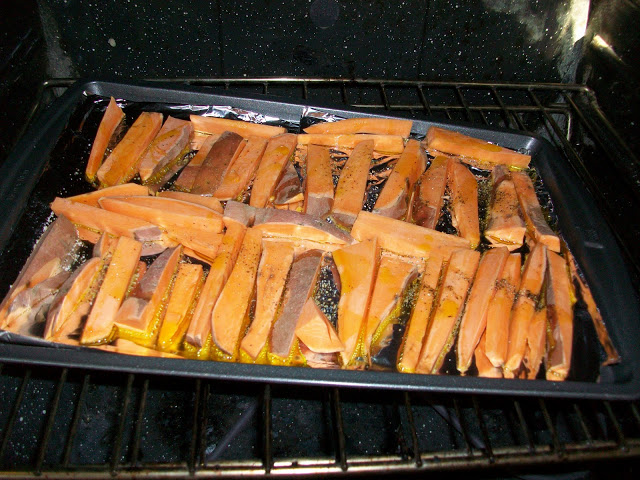
6.) Allow the wedges to bake for 10-15 minutes. Take the pan out of the oven and flip each of the wedges to their opposite side. Bake for 10-15 additional minutes.
7.) Allow the fries to cool a few minutes before serving.

8.) Finally, enjoy! I dipped mine in Kraft 3-Cheese Ranch Lite Dressing.
Not only are these fries delicious, but they are also a great source of Beta Carotene. I can see myself making these again in the future.
Get it?
Beta Carotene…See….
Okay, you don’t have to laugh at that joke, but I would recommend you trying this recipe.
-Amanda
by kelsey | Apr 10, 2013 | Food, Weather

Well for once Watertown has dodged the bullet with this winter storm. It sounds like there is more coming, but we have avoided the terrible ice that the Sioux Falls and southeastern SD region has gotten. There are many without power and it sounds like it may be days-week before they get power back on. These poor conditions are not ideal but, like I said yesterday, we can’t change the weather so we must do what we can to keep safe. Without power to the fridge and freezer, many may be wondering how to keep their food safe. Even though we aren’t dealing with these issues here in the Watertown area, you may have friends or family dealing with them so be sure to share these recommendations with them! Keeping cold foods cool and hot foods hot may be a challenge without power so follow these recommendations to keep your food safe in an emergency.
- Keep the refrigerator and freezer doors closed as much as possible to maintain the cold temperature. Watch the temp on both using a thermometer. You want your fridge to stay under 40 degrees and your freezer under zero degrees F.
- The refrigerator will keep food safely cold for about 4 hours if it is unopened.
- A full freezer will hold the temperature for approximately 48 hours (24 hours if it is half full) if the door remains closed.
- If are you able to, get dry or block ice to keep your refrigerator as cold as possible if the power is going to be out for a prolonged period of time. Fifty pounds of dry ice should hold an 18-cubic foot full freezer for 2 days.
- If you are wondering if your food is safe to consume, you need to evaluate each item separately using a thermometer as you cannot rely on the appearance or oder! If the food still contains ice crystals or is 40 °F or below, it is safe to refreeze. Refrigerated food should be safe as long as power is out no more than 4 hours. Keep the door closed as much as possible. Discard any perishable food (such as meat, poultry, fish, eggs, and leftovers) that have been above 40 °F for 2 hours. The way it sounds, this will be case for many in the Sioux Falls area. Remember…it’s better to discard and buy new than risk it and get sick!
For more tips and detailed recommendations please visit the USDA’s website: http://www.fsis.usda.gov/Fact_Sheets/keeping_food_Safe_during_an_emergency/index.asp .
Stay safe and warm everyone!
-Kelsey
by kelsey | Mar 28, 2013 | Cooking Tips, Food, Holidays

With the Easter Holiday and Celebration just a few days away, many of you have your eggs hard boiled and ready to be painted…or many of you already have them painted! Painting eggs is an Easter tradition. As a child I always looked forward to painting eggs, the egg hunt, and of course of our Easter baskets. Easter was always an eventful holiday around our house and we have many funny stories to tell about our traditions. The eggs, baskets, etc are all part of the fun, but be sure to reflect on the real meaning of Easter!
As Sunday comes and goes, you may wonder what to do with those eggs. Here are some tips for you to practice proper egg safety:
- Not sure how to boil an egg? Place the eggs in a saucepan and cover with water. Bring to a boil with the lid on, then turn off the heat. Let the eggs sit in water for 15 min. Remove eggs and place in a bowl of ice cold water to cool.
- Eggs should be used within 3 weeks of the sell by date. Be sure to store them in the fridge at a temp less than 40 degrees F.
- Hard boiled eggs spoil faster than fresh eggs as the protective coating is washed away, making them more susceptible to bacteria. Hard boiled eggs must be refrigerated within 2 hours of cooking.
- If you want to eat the hard boiled eggs after the holiday, you must store them in the refrigerator. Throw away any eggs that are cracked, dirty, or have been out of the fridge for more than 2 hours. If you are going to use the leftover cooked eggs, it is recommended to use them within one week to prevent food poisoning. To help you do this, you could make two batches- one to display and one for eating.
- Ever wonder what the green ring on a hard boiled yolk is? It’s a result of overcooking the eggs and is caused by sulfur and iron compounds in the egg reacting to the surface of the yolk. The green color may also be a result of a large amount of iron in the water used to cook with. It may look funny, but it is safe to eat.
Happy Easter!
-Kelsey